Your kitchen needs cleaning more regularly than any other room in the house; it is used 2-3 times a day and sometimes much more in shared accommodation.
They can also be the biggest bone of contention for households of any size: “Are you gonna wring that cloth out or just leave it dripping on the side?”… “I don’t think it’s ok to leave your toast crumbs on the worktop”… “How big does this washing up pile have to get for you to start doing it?!”… “Next to the dishwasher is not in the dishwasher, is it?”. I’m afraid we can’t offer any advice for those niggling day to day issues but if you are ever in need of a full top-down clean we are here to help.
Again, as with the bathroom clean, I can’t stress enough how important it is to get a good set of clean microfibre cloths in your arsenal. Here’s what you’ll need for the kitchen, in addition to a white-topped scourer (less harsh than their dark green counterparts):
- Cloth 1: This one may start dry but will get progressively wetter as you go along
- Cloth 2: This one should be done dry and lint-free and used for drying all cleaned surfaces
- Cloth 3: This one is a specialist polishing cloth, best-kept bone dry
- Cloth 4: This is for the dusting
Also, always remember to work from high to low so that you are not leaving spray residue on areas you’ve just done and centre all your cleaning on the sink being the final battle, moving towards it from the left and then the right so you can keep using it to rinse your dirty cloths in hot soapy water right until the last moment.
Step 1: Tackle the lime scale & grease first
Pre-emptively spray the taps and hard lime scale areas around the sink with lime scale remover before moving on to your first job. Also spray the hob with degreaser. Soak any tough looking stains with a splash of water. For Induction or electric hobs: a product called Hobrite works well for stubborn burnt on stains; make sure that the instructions are carefully followed otherwise it is not as effective as it could be. Just leave things soaking for the moment but keep an eye on the time, some of these products have a limit on how long they should lay on the surface.
Step 2: Bins
Empty all bins and spray with anti bac cleaner, leaving it to soak.
Step 3: Clear out the sink
This will probably involve emptying or refilling the dishwasher and switching it on if it is full. Once the sink has been emptied, fill it with hot soapy water ready for your top to bottom wipe down of all surfaces, doors, countertop items and applicances. Think HOT so get your gloves on.
Step 4: Don’t forget the washing
If you need to get the washing machine on now is the time to do it.
Step 5: Doors and handles
Wipe down all the fronts of the cupboard doors with your wet cloth soaked in your hot soapy water, then move on to the handles, not forgetting the rooms doors, light switches, oven buttons and glass oven door – giving an extra squirt of Anti-bac spray for those high ‘finger-fall’ areas. Go over the surfaces with your dry cloth and finish any glass surfaces with the polishing cloth.
Step 6: Counter and Countertop items
Now let’s be logical about this, move items to areas you’ve not yet cleaned in sequence, wipe counter, wipe item, dry counter, return item. Think about some of those special countertop items that attract all the daily use grime too: toasters, kettles, microwaves, coffee machines, bread bins, oil and spices racks…make sure they get a little bit of extra hot soapy love.
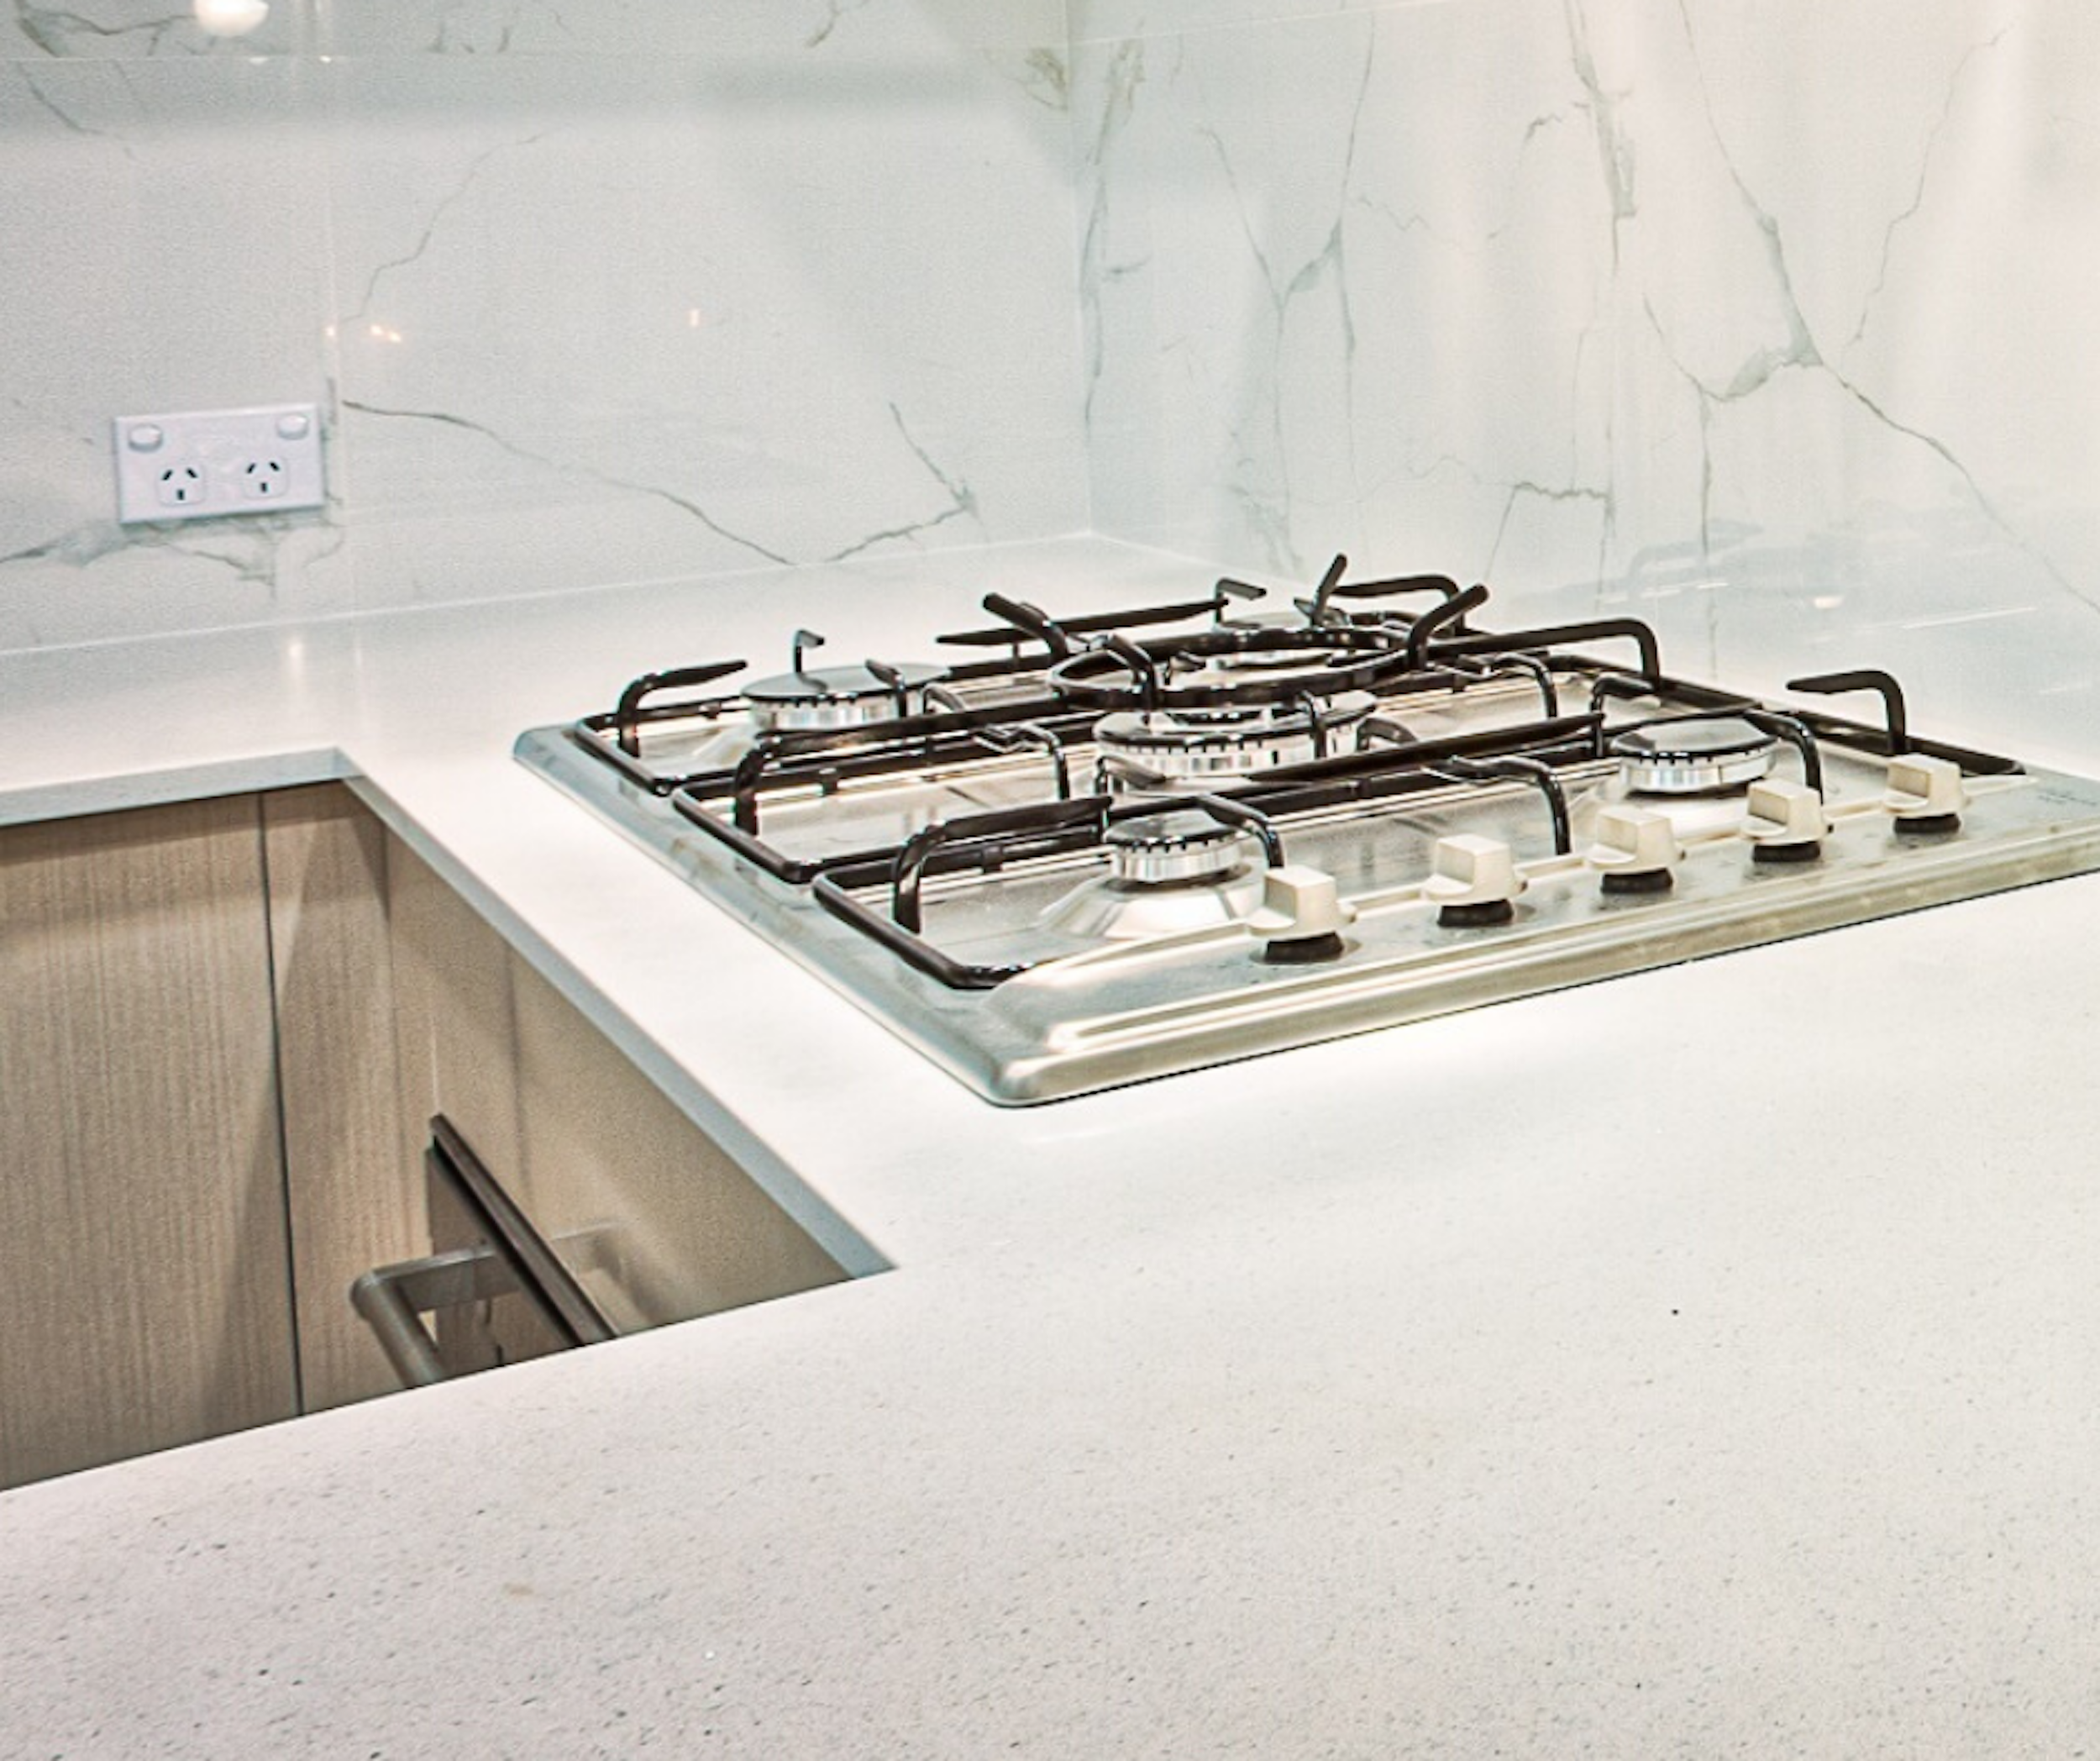
Step 7: Hob & Extractor fan
Put any rings and frames into the sink. This is where the pre-soaking will have come in handy. Avoid using the scourer, unless it is a ceramic hob because you won’t realise until after how nasty that scratched patch will look and how much it will catch your eye after every clean. Use the wet cloth to wipe down the hob, rinsing regularly in the sink. The final touch could be to use a metal cleaner, we recommend Cif stainless steel cleaner, then polish with the dry cloth once the final wash has been done. Don’t forget to wipe down the top of the extractor fan too – it can get very greasy up there, even though it is out of your eye line: use a cloth rinsed in warm soapy water and have the polishing cloth on hand to immediately polish once wiped down.
Step 8: Sink and taps
Rinse and clean your wet cloth one more time and drain away the dirty water, not forgetting to wipe down the anti-bac off the bin before your final rinse. Go over the taps and the sink one last time with the kitchen spray and wipe round, polishing as you go afterwards to avoid streaks.
Step 9: Wash the floor
Poor hot water and your floor cleaning solution into the bucket and, working towards the door, wipe the floor with your rung out mop, rinsing as you go.
That’s it! I hope you find this useful for your kitchen.