Contact us today for a free quotation: 020 3995 4810

Room by Room by Antoinette: Bathroom

Bathrooms are notorious for having the most sparkly things in them: tiles, enamel, porcelain, glass, mirrors, and stainless steel.

They also deal with the biggest enemies of shine on a daily basis: lime scale and soap scum. No wonder our clients find this the toughest room in their house to clean and subsequently the one with the biggest ‘wow’ when we come in and make it sparkle again. So here’s my basic step by step guide on how to clean your bathroom top to toe:

Before we get started let me go on a small rant about cloths, you’ll find I do this a lot. Using a good set of cloths will halve your cleaning time and leave a sparkling finish with minimal effort. I recommend having 4 Mircofibre cloths on hand at the beginning for all you bathroom cleaning needs:

  • Cloth 1: This is the duster, which will then end up being the wet one once rinsed
  • Cloth 2: This one is dry but will get progressively wetter and dirtier as you go along
  • Cloth 3: This one should be done dry and lint free and kept that way
  • Cloth 4: This one is a specialist polishing cloth, also left bone dry and lint free

Step 1: Get things going!

Some things take a bit of time to get going so let’s get the first things soaking before we launch ourselves into the scrubbing: Soak toilet with cleaning solution, preferably one that will deal with lime scale like popping in a toilet cleaning tablet into the bowl.  Leave the toilet brush soaking in the toilet pan while cleaning the rest of the bathroom so it too is getting a bit of a clean.

Then it’s all about clutter and dust riddance: Remove dustbins and any other portable items and place them outside the bathroom door. Dust all the surfaces with Cloth 1 like the shelves and window sills and as well as anything on them like ornaments and products. Hoover the floor, before any water activity to ensure that none of the dust starts sticking to things.

Spray glass and chrome with lime scale remover so that can be left doing its work while you start dealing with all the other items. Lime scale can be a huge problem in London homes and other hard water areas, hear my tips about this here.

Step 2: The shower and/or bath

Lay a healthy sheen of surface cleaner on all grimy surfaces. Use your scourer for getting rid of all the grime, or for really lime scale infested areas you might want to get out a toothbrush or grout scrubber, ensuring the surface is tough enough to take it. After this you can scrub round with wet Cloth 1, focusing on all the chrome fittings, rinsing off as you go. Use the squeegee to scrape the excess water from the glass. The final touch is the 2 part Mircofibre rub down – let the shine begin:  Cloth 2 to remove any excess liquid and then Cloth 3 to polish the glass and chrome fittings. Lastly return all the bath/shower paraphernalia to where it came from, having wiped it all down with Cloth 1.

Step 3: The toilet

This is the last job cloth 1 will need to do: Rinse the cloth out well so there’s no excess water dripping everywhere, use your antibacterial spray and clean the top of the toilet pedestal, being sure to give the flush mechanism a good wipe.  Fold the cloth in half and use a fresh side to wipe down the top of the toilet lid. Fold the cloth in half again and set aside. Now use 3 sheets of folded toilet paper and anti-bacterial spray to wipe down the space behind the toilet seat, the toilet side of the toilet lid, the upper and lower side of the toilet seat, the chrome fittings of the toilet seat and the top lip of the toilet basin. The order is important: moving from the cleanest to the dirtiest parts of your loo to avoid cross contamination.

With the seat the the lid lifted, use the toilet brush to thoroughly scrub the inside of the toilet basin being sure to get underneath the rim and also as far into the u-bend as you can. Flush the toilet, rinsing the toilet brush under the stream.

Finally use trusty Cloth 2 and anti-bac spray to wipe the wall or tiles behind the toilet and outside of the pedestal.

Step 4: Mirror, mirror on the wall…

Even at this late stage Cloth 3 should look like it’s barely left the drawer so can be on the mirror with a small squirt of glass cleaner to limit the streaks.

Use the pristine Cloth 4 glass polisher to get that sparkly streak free finish and use the same cloth to finish the shower screen glass and all of the tabs and other chrome fittings. Step back and admire the dazzle.

Step 5: The sink

You’ve probably been using your sink to rinse your cloths and sponge and store all the wet things as you’ve been going along so now is the time to start clearing up the mess and give the sink a squirt with your all-purpose spray, scrub round with the scourer, Cloth 2 and 3, not forgetting the splash back tiles and pedestal.

Step 6: The towel rail

Use Cloth 2 to remove dust and dirt from the towel rail and give it a polish with Cloth 3 to finish. Fold towels beautifully for the that Just Helpers Finish!

Step 7: The floor

Assuming you have a tiled bathroom floor you can now crack on with the final task, get some extra hot water, mop, bucket & floor cleaner making sure you work into all the easily neglected areas like round the toilet and in the corners where the grime usually gathers. Open a window and leave to dry.

Step 8: Return everything to normality

Empty the dustbin and spray and wipe the inside and outside, polishing where necessary and then wipe down any other portable fittings that were removed at the beginning. Wait for the floor to dry, replace all items and pat yourself on the back for a good job done!

Step 9: Reflect

Sit down and have a cup of tea, think to yourself, ‘I’m never going through all that again’ and get in touch to book your Helper to do it for you!

Antys Cleaning Tips #5: Eco Toilet Cleaning Methods

You may have heard of fish spa’s, who use Garra rufa, also known as doctor fish to eat the dead skin from feet..

But did you know it’s now possible to employ another kind of water dwelling creature, to clean your toilet?

The Malaysian Trumpet Snail or MTS, is being touted by eco-nomists as the next best green alternative to toilet bleaches and cleaners that are currently polluting our waterways and threatening fish populations across Britain. Currently only being tested in medium-soft water areas, the snail, which breaks down limescale into calcium to build its shell, also eats any leftover unwanted streaks left in the bowl, leaving your toilet sparkling like new.

So how does it work? Tests were initially done by leaving the snails in a tank installed in the bathroom during the day and moving them to the toilet bowl each night but concerns about disturbing the snails so regularly led to studies to find a species of snail that could survive, and even thrive, undisturbed in the toilet bowl permanently. The unique streamlined shape of the MTS allows it to stick rigidly to the side of the bowl during flushes and movements whilst managing to catch enough ‘food’ to live on happily without needing any dietary supplements. A recommended maximum of 3 snails per bowl should get your toilet bowl sparkling in under 3 weeks.

So it’s bye-bye to water damaging cleaning products and hello to happy toilet cleaning snails! Who knows what will catch on next – toenail clipping lizards?

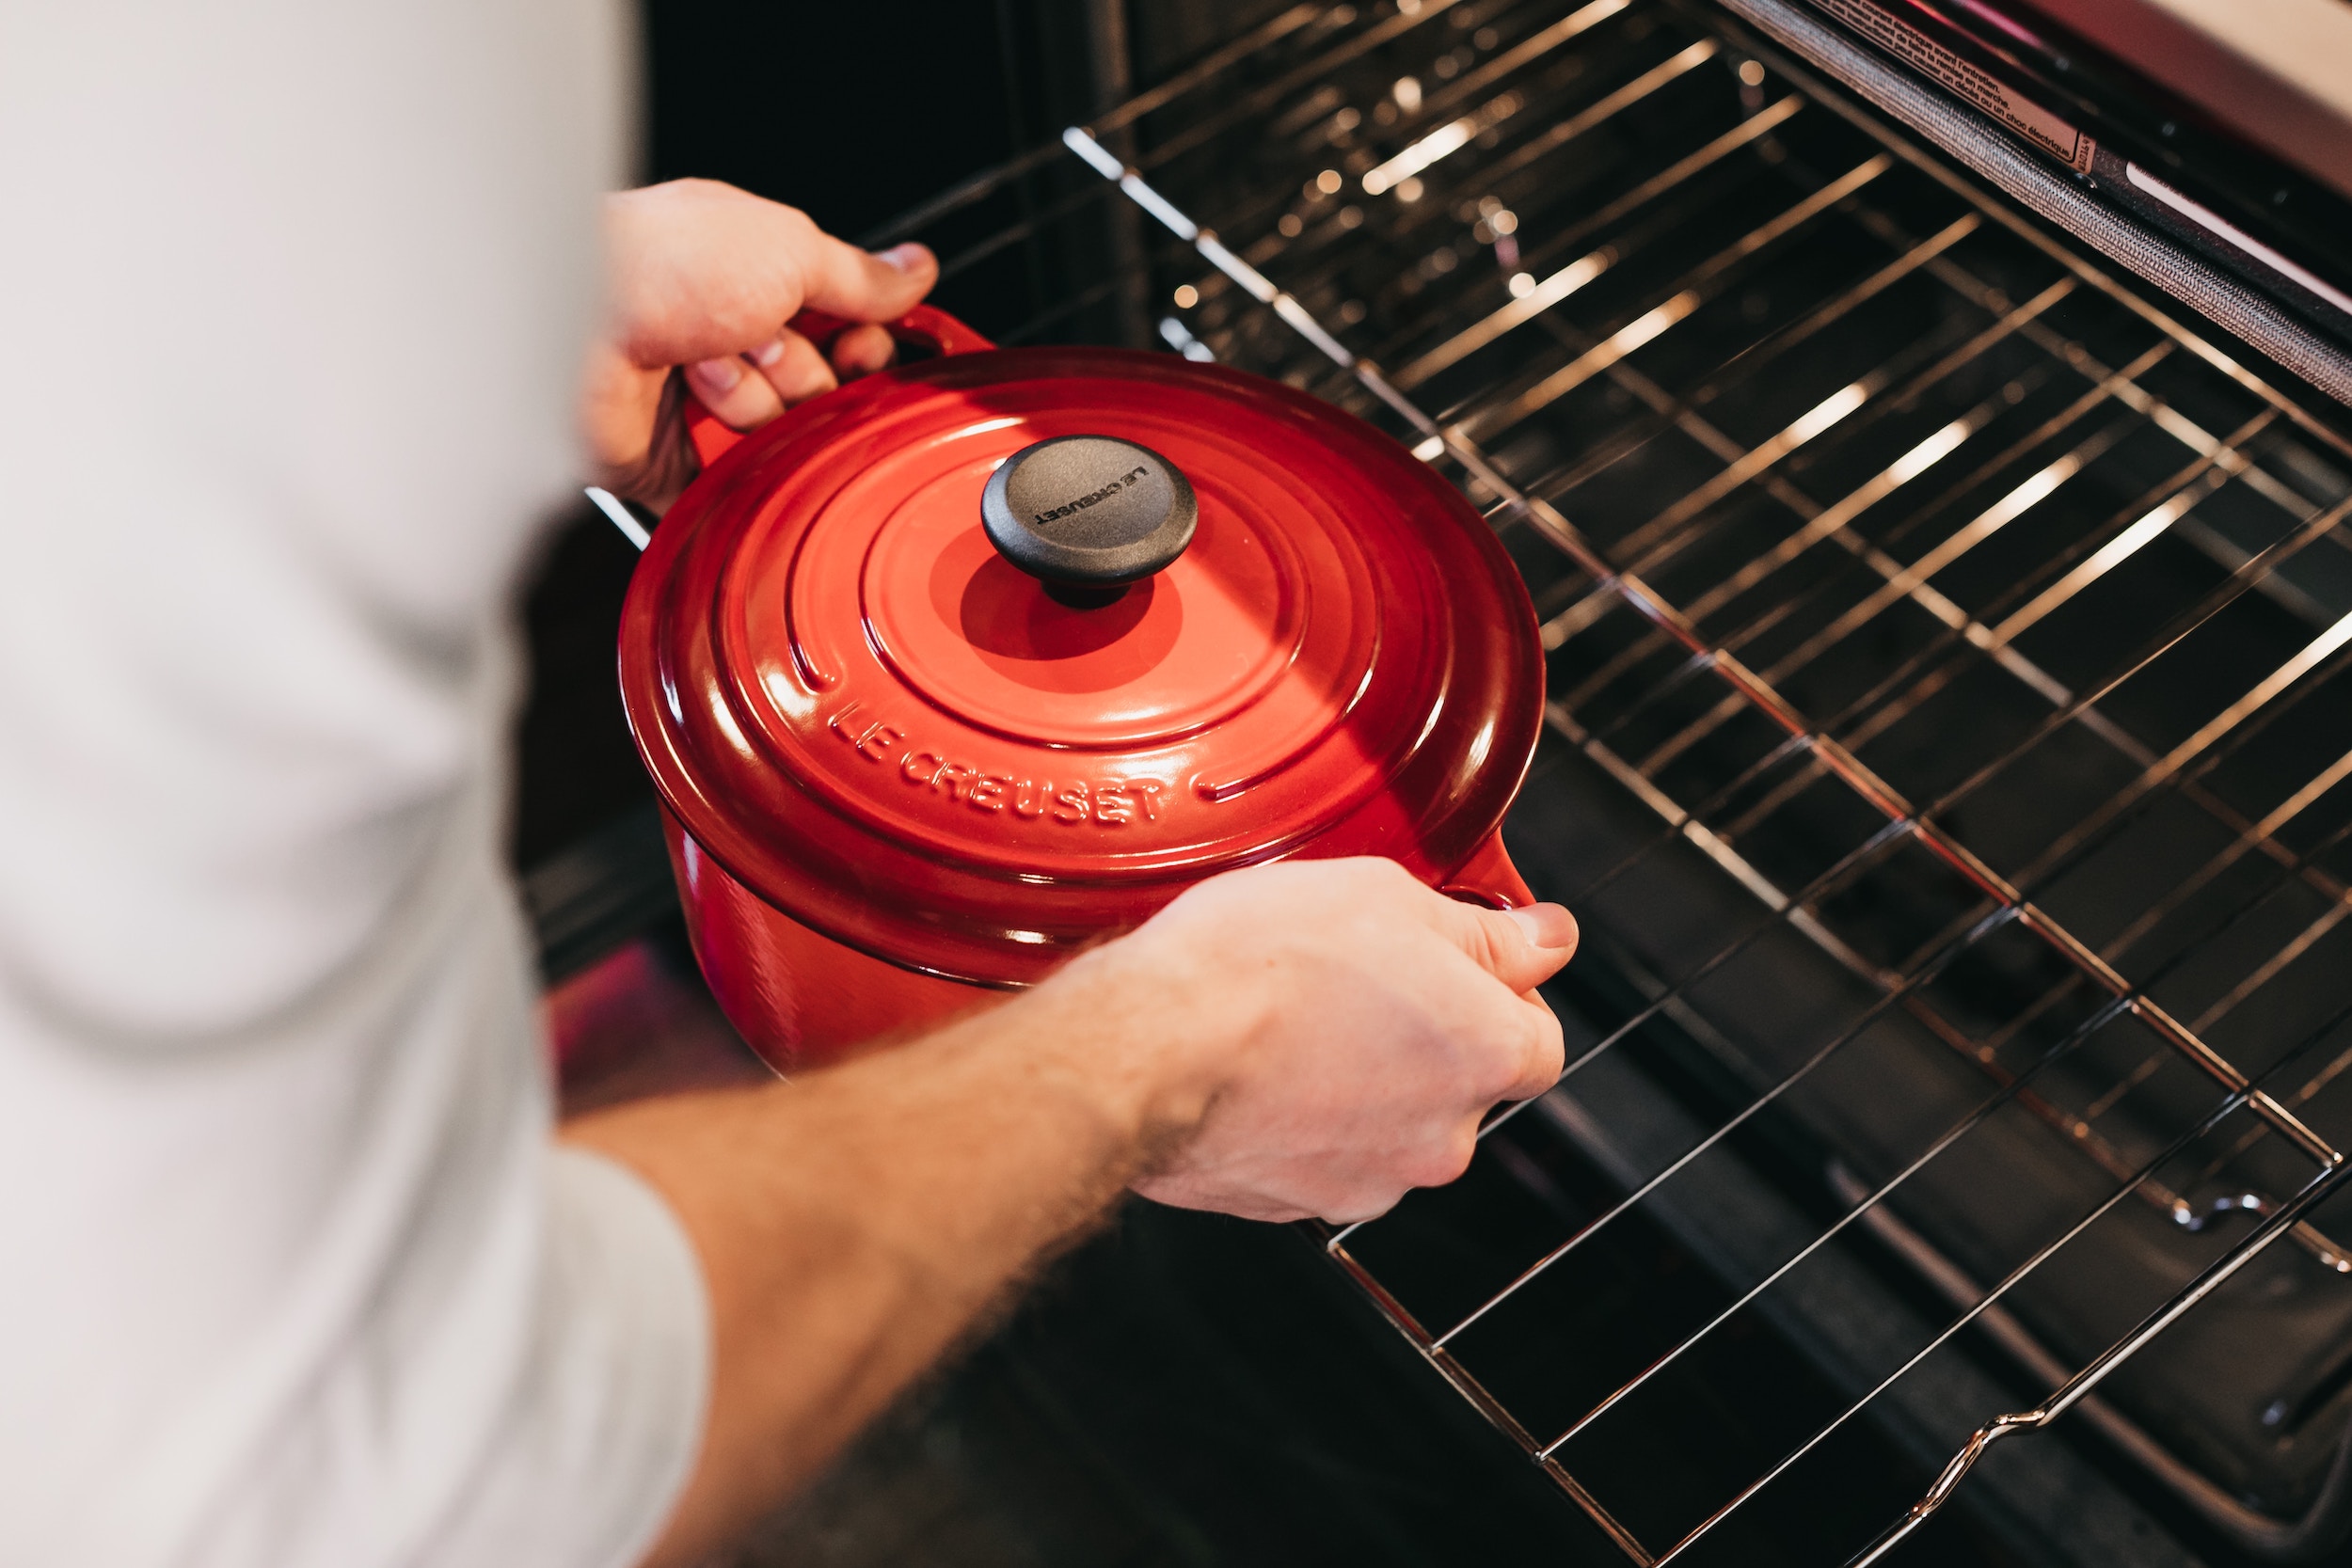
Anty’s Cleaning Tips #4: Ovens

Hoping to take on an oven clean? Here’s a couple of tips we’ve gleaned from years of experience.

Everyone knows that smell.. the pool of a sticky or fatty spillage smoking in the bottom of the oven when it gets hot. Even if you haven’t got time to go for a thorough clean, get a few pieces of kitchen towel and mop up the worst of the spillage before you turn the oven on again – the more times you ‘cook’ that spillage the harder it will be to get off. Better still, prevent spillage by putting a baking tray underneath the usual suspects.

Stick it to the sticky stuff

A Which? Best Buy report from 2012 rates the leave-it-over-night gel cleaners as generally the best performers, heralding Oven Pride as the most widely available top product for its removal of tough baked on grime, a little bit of scrubbing will still be needed on the oven walls of course. In my time, when I had to get an oven done without the luxury of leaving it over night I used to use Mr Muscle Oven Cleaner and leave the spray foam to soak but this still requires a lot of elbow grease to help Mr. Muscle’s muscles along. All of these products use caustic chemicals to dissolve the dirt, leaving a very bad smell in the air and risk of damage to your clothes and any other surfaces that are not the inside of your oven. It can also mean that your oven will smell for a few days while the chemicals in your oven burn off, even with plenty of rinsing this is hard to avoid.

Eco alternatives

To eradicate the need for chemicals you must to start as you mean to go on: cleaning your oven on a monthly or bi-monthly basis. Although there are many eco-alterntives on the market, none of them can cut through hard burnt on grease to the same extent as sodium alkyl ethoxy sulphate and sodium hydroxide.

There are a few brands who offer a mineral based paste that you can spread on and wipe off, normally made of a vegetable soap and mineral abrasive, here’s one from Astonish. Or you can make your own paste with bicarbonate of soda and ‘bake’ it on. If you are planning on doing the scrubbing regularly, you might want to soften the grime first by putting a bowl of water in the oven and setting it to 100℃ for 30 mins to steam, this also works well in microwave ovens on a short 4 or 5 minute setting.

Oven cleaning is one of our Helpful Add-on Services.

When you speak to your cleaning manager they can arrange for this to be added to an existing clean for an extra cost, some of our other add-ons include cleaning blinds, taking duvets to the laundry or washing down walls; those jobs that no-one ever seems to have the time to do.

My Miele obsession

Household appliances are a huge part of our lives, and we take them for granted until they get in the way, either by breaking down altogether or, more frequently, causing us some doubt as to their performance standard.

“Is that rattling normal?” “Really, you need more salt again?” “I put it to 200°C just like the recipe said but it’s just not browning!” You could say that these occurrences are just minor disruptions, but when you add them up with all other appliances running your life, it can start to drain.

It would be my advice to not cut corners on choosing the devices and appliances you add to your home, they could be part of your life for a long time. We tend to choose a fridge freezer based on value, forgetting that we would spend hours researching the purchase of a car even though our fridge freezer is in our lives for about the same amount of time, if not more!

I can’t give you advice on the best sound system, or the best in home security system, but get me going on vacuum cleaners and you’ll never hear the end of me.  Miele is a German brand with the tag-line “forever better”. I’m not normally a sucker for tag lines or advertising, but for me, this brand has proved its worth over and over and many of their products are featured highly by Which?

John Lewis and Amazon sell most of the Miele vacuum cleaner range. They start at £99.95 and prices span all the way up £499.99 for the Scout RX1 bot. Robotics aside, the features that make some more expensive than others are mostly arbitrary: specialist filters for pet hair, capacity, fancy attachments. At their core, each vacuum cleaner has the unique technology relying on an age old system: the bag.

Bags get bad press but they are not necessarily the runt of the litter. Bags keep more dust out of the filters so you have to clean them less regularly, ultimately allowing them to last longer. Bags also maintain consistently good suction up until the point that the bag needs emptying.  Gone are the days when bags were fiddly and frustrating, leaving you wheezing in a cloud of cat hair, if anything they are often cleaner and simpler to empty than bagless options.

The benefits of the Miele vacuum cleaner do not stop at their bags; my experience has also found them to be durable, portable and practical: Bits do not tend to break off, unlike other more fancy brands. They are light and wheel about well, unlike trendy upright types. Practical internal storage of attachments means they don’t get lost, and finally, when you thought I might have exhausted my long list of praise – the power cable is longer than your average and retracts with one touch of a button, very handy indeed!

I can’t write a post on Miele Vacuum Cleaners without mentioning the Scout RX1 robot. A round robotic vacuum cleaner commonly found on YouTube comically carrying round cats and babies in methodical straight lines and circles. Unfortunately technology needs to evolve a little bit more before it can compete with our Helpers, one such bot in a friend’s house has several blind spots that it never cleans, while running over and over other spots to the point of almost wearing the carpet out! And for the price, you could get 40 hours of one of our lovely Helpers who can come and make your bathroom and kitchen sparkle at the same time.

Need a hand cleaning your home?

Life in London is demanding and time is at a premium. Get some sparkle back into your life and home with one of our domestic cleaning packages.

Looking for commercial cleaning?

We provide a regular cleaning service for offices and commercial premises in the Greater London area, helping you maintain a professional, healthy and productive work and business environment.

We’d love to chat with you, see your space and walk you through our process.

Call us

020 3995 4810 - Clients
020 3995 4821 - Helpers

Email us

info@justhelpers.co.uk

Our office

71-75 Shelton Street, Covent Garden, WC2H 9JQ

Request a callback

Please enter your name and number and a member of the team will give you a call back.


    Previous Next
    Close
    Test Caption
    Test Description goes like this