Skip to content
Contact us today for a free quotation:
020 3995 4810
Home
Our Story
Charity
Services
Domestic Cleaning
Commercial Cleaning
Premium
Blog
Contact Us
Open mobile menu
Close mobile menu
Cleaning tips
Home
»
Cleaning tips
»
Page 3
Just One Swap: Changing the World One Cleaning Product at a Time
Cleaning tips
·
Just One Swap
Pet-proof your home: Are you Dog-Ready?
Cleaning tips
5 ways to use vinegar for cleaning
Cleaning tips
Handwashing | Are we getting lazy?
Cleaning tips
·
From the Founder
Best Eco Friendly Laundry Options
Cleaning tips
·
From the Founder
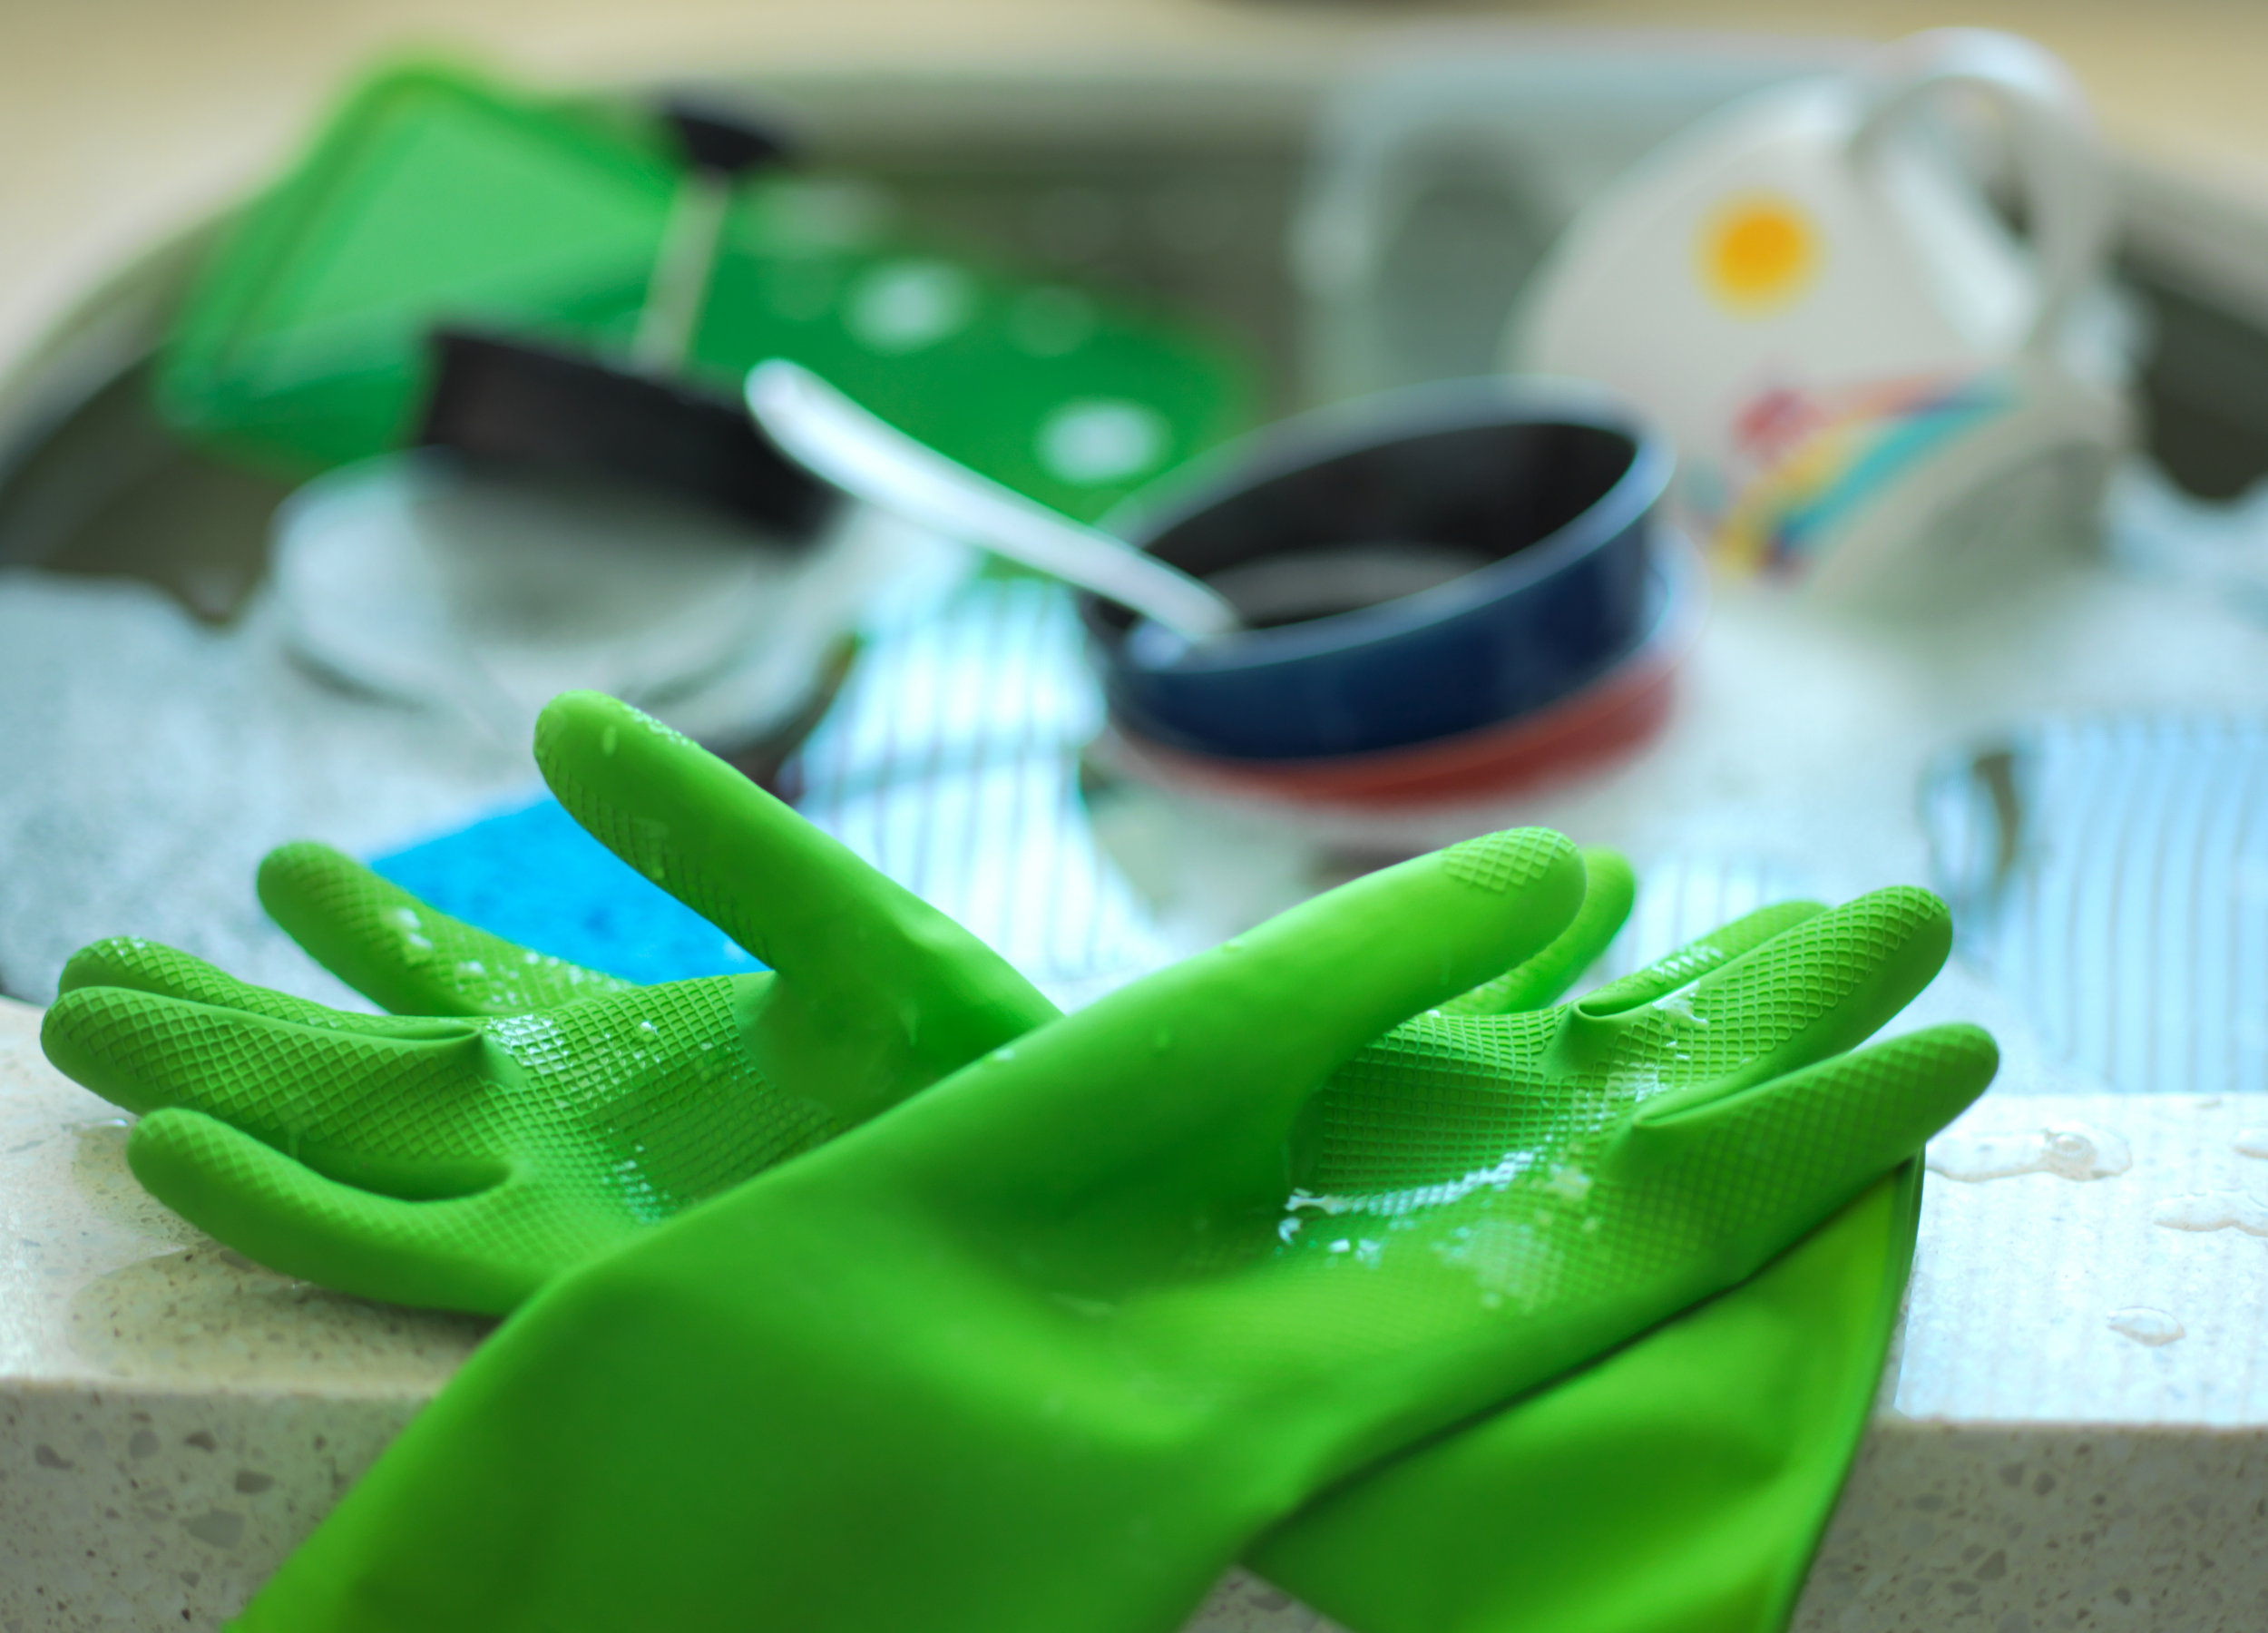
Plastic Free Cleaning | 3 Ways
Cleaning tips
The Platinum Jubilee | 7 Decades of Cleaning Trends
Cleaning tips
7 Reasons Why Cleaning is Good for your Love Life
Cleaning tips
Should I Clean for the Cleaner?
Cleaning tips
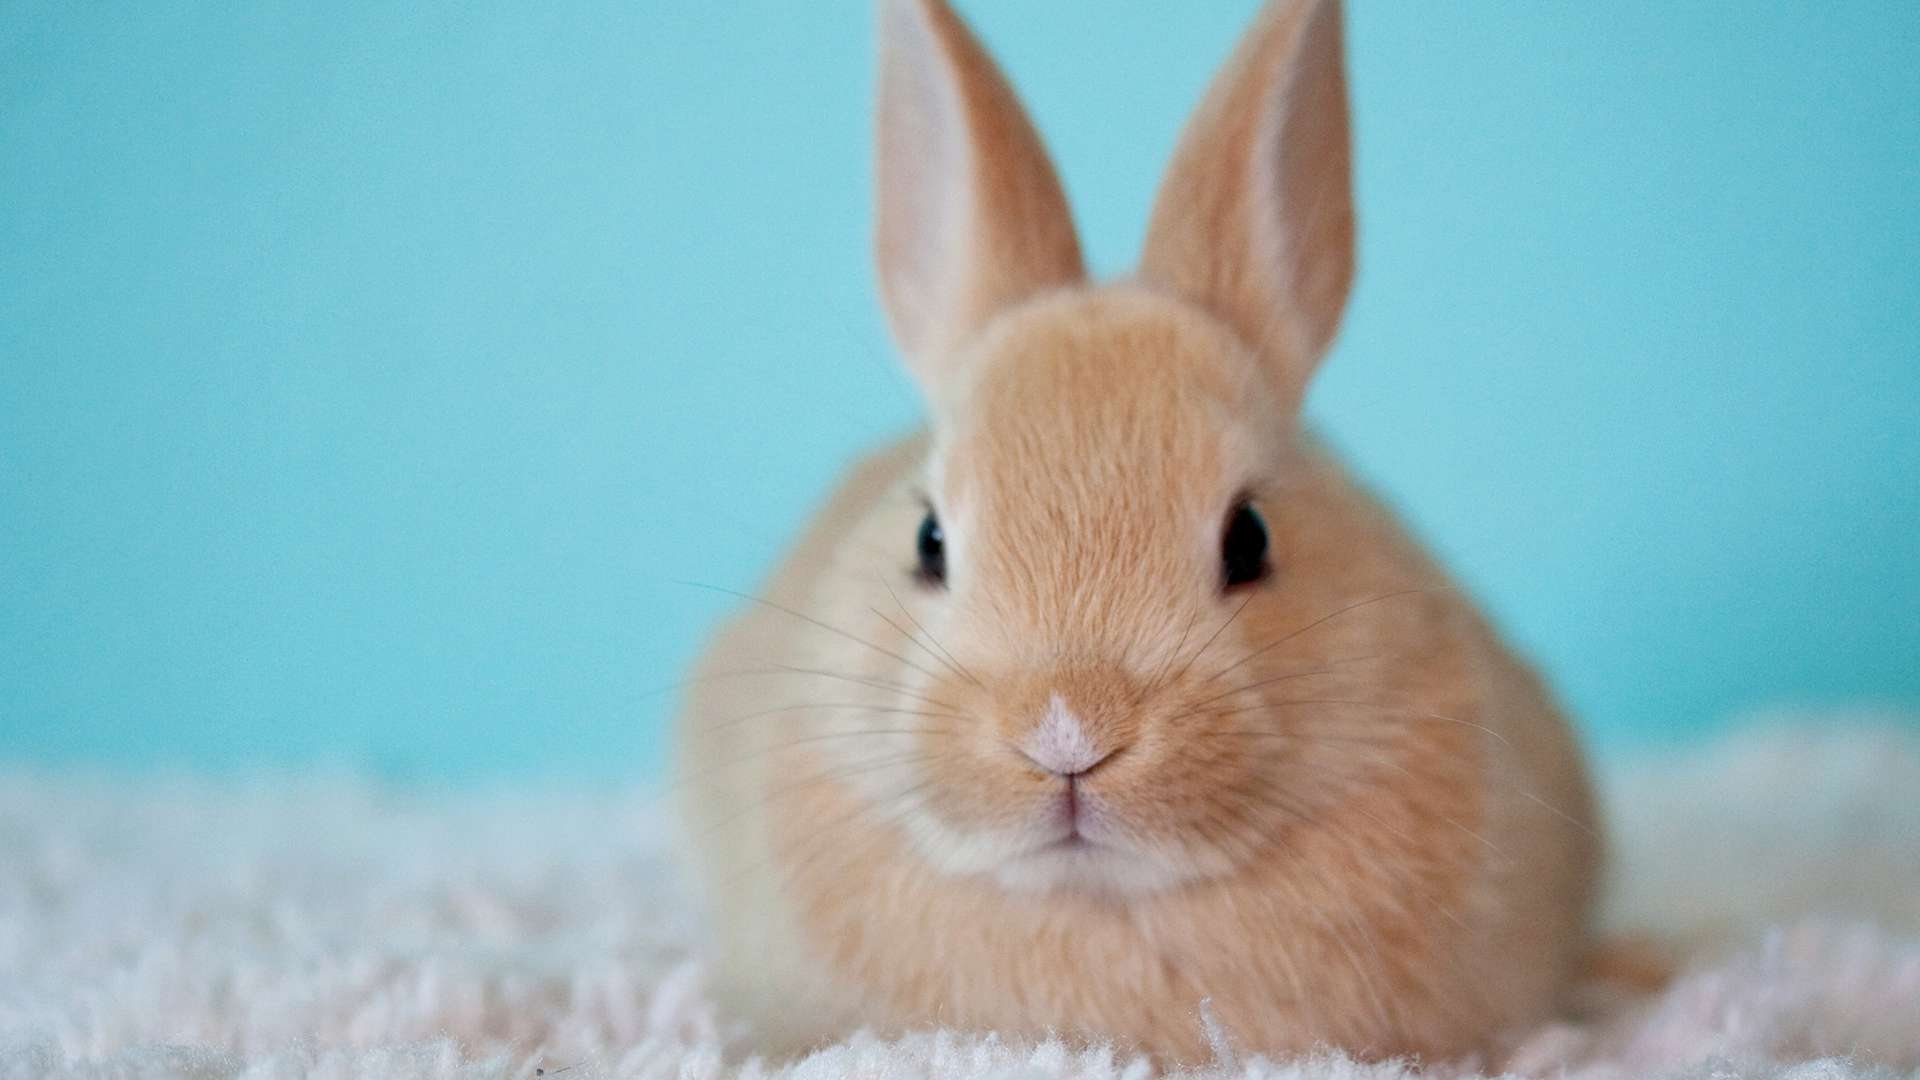
Are Cleaning Products Tested on Animals?
Cleaning tips
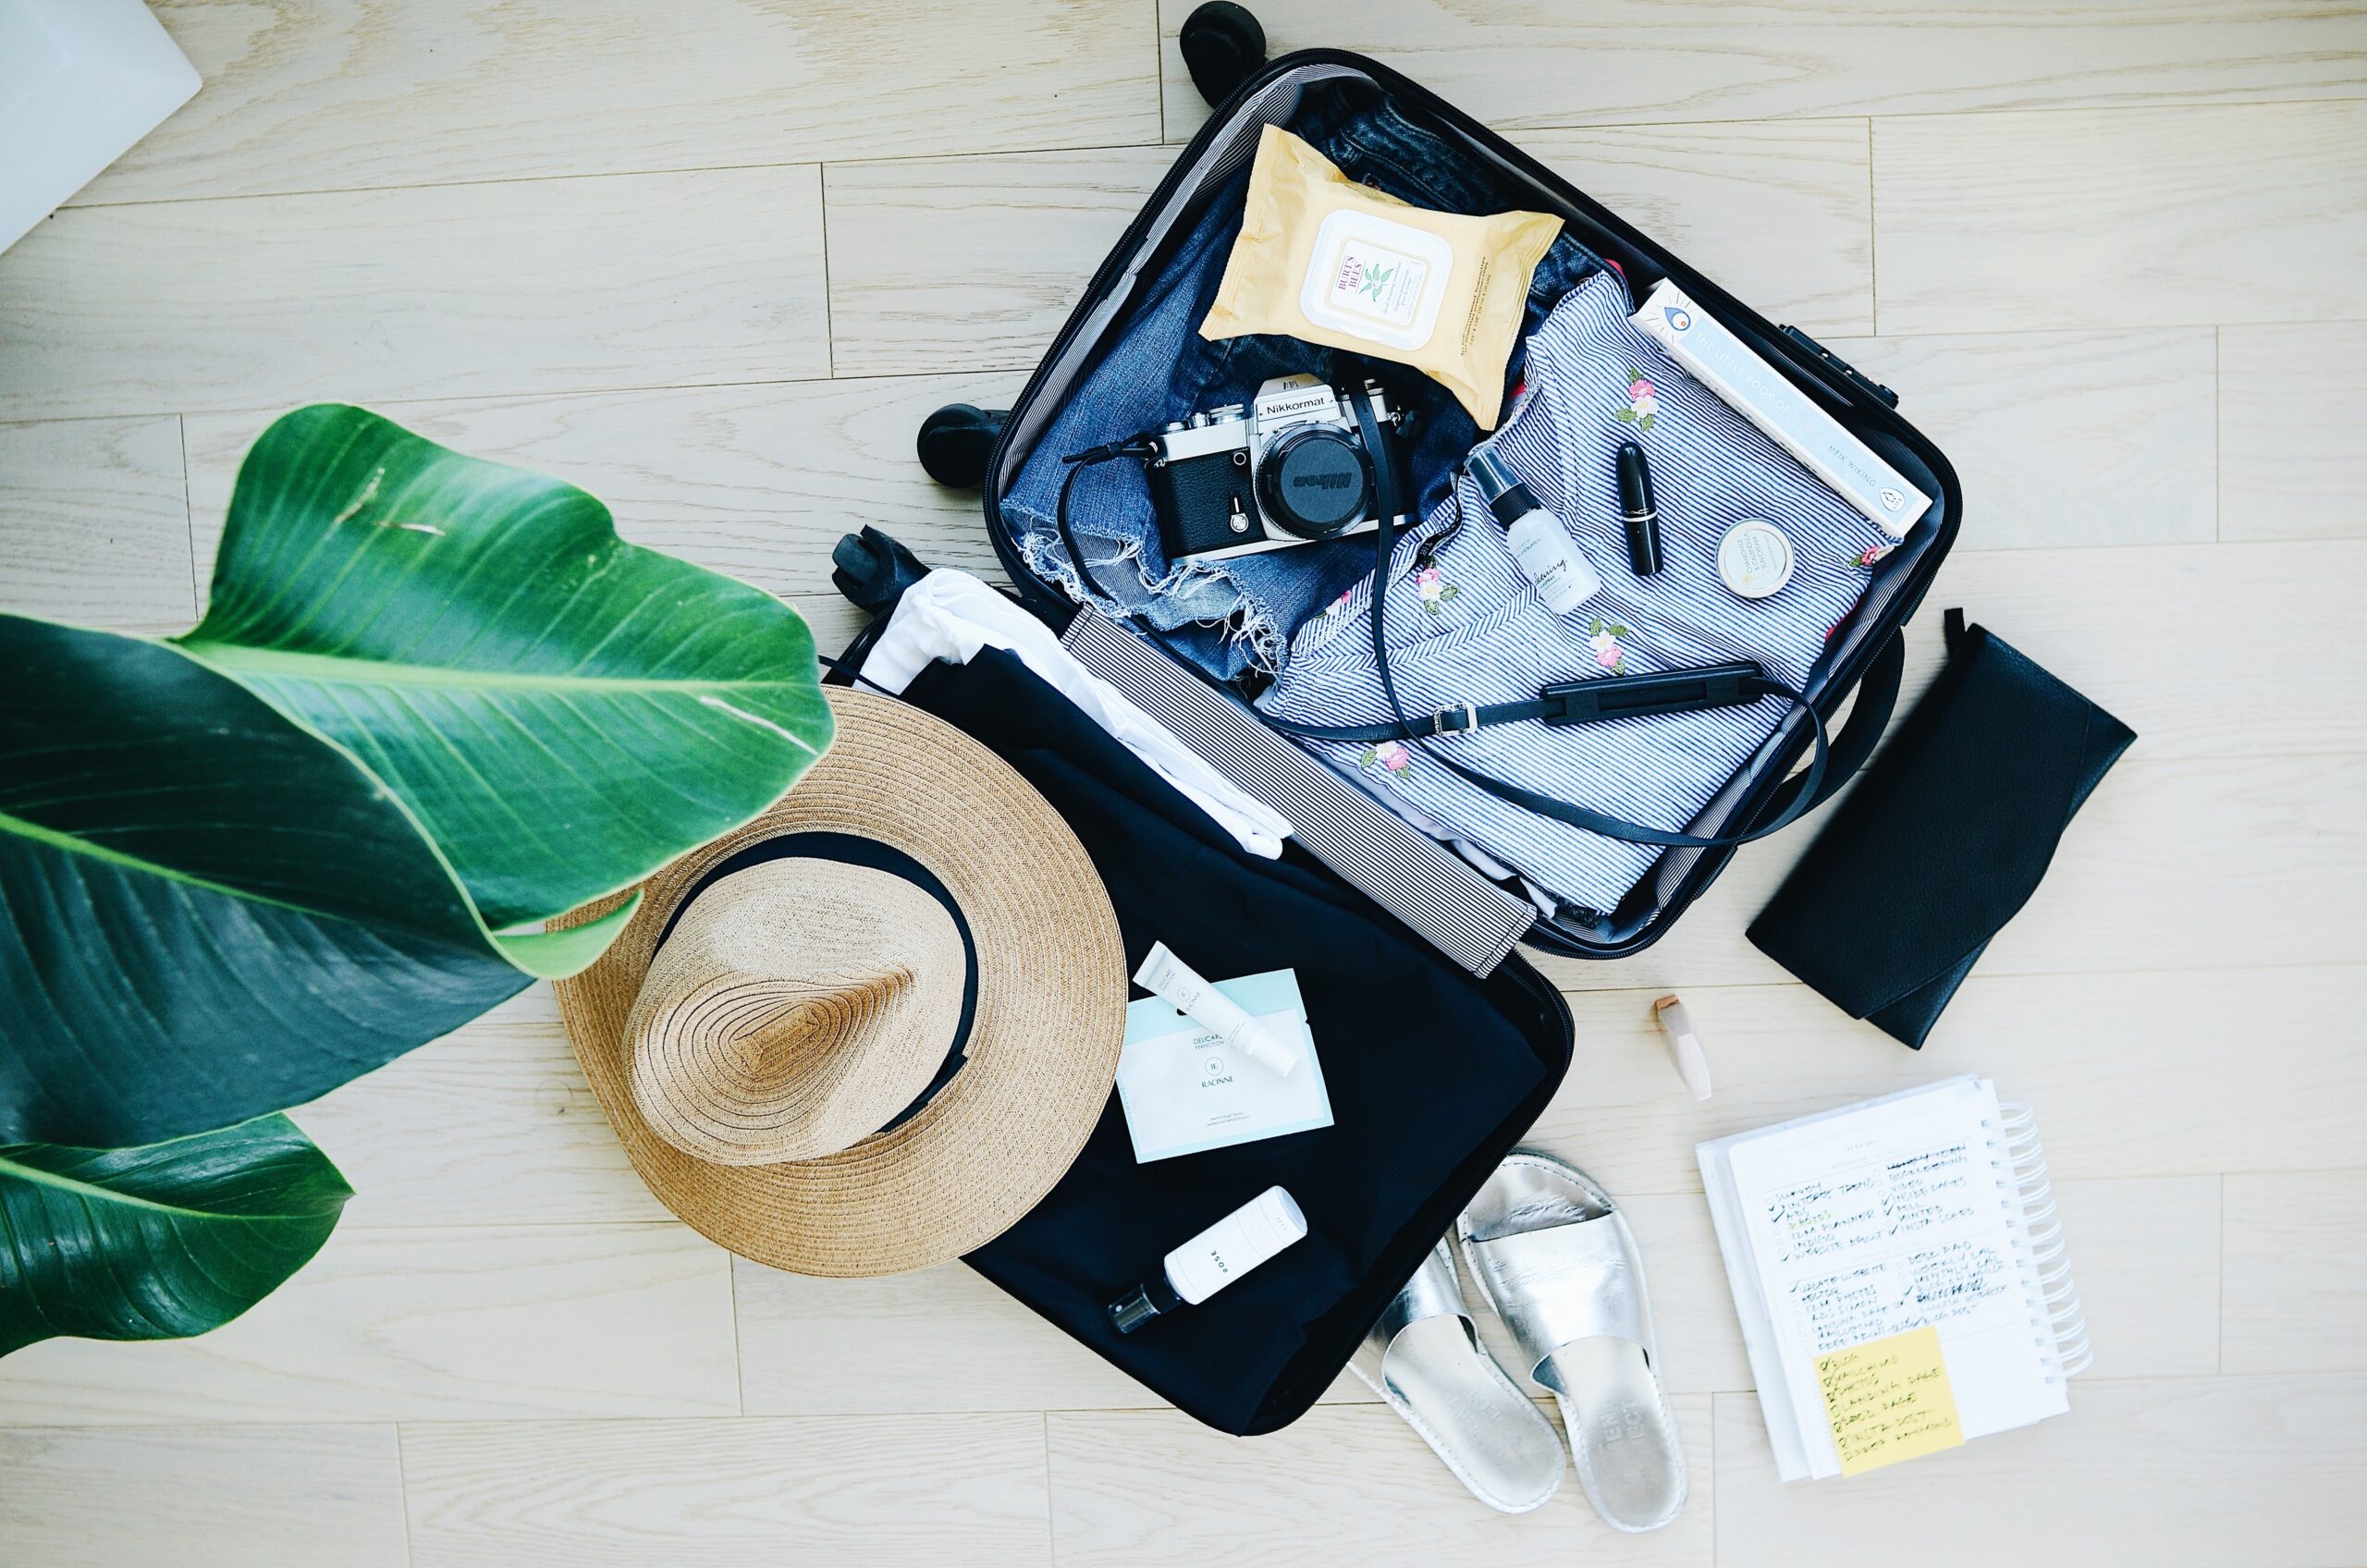
Your Essential COVID Travel Kit – Get Ready for Summer
Cleaning tips
Just Helpers 9 Tips for Cleaning Up Blood
Cleaning tips
Previous
Page
1
Page
2
Page
3
Page
4
Page
5
Next
Home
Our Story
Charity
Services
Domestic Cleaning
Commercial Cleaning
Premium
Blog
Contact Us
Back To Top